Consider giving your bathroom a brand-new look with tiles. That’s exciting! But before you pick up the adhesive and start sticking, there’s one crucial step you can’t skip: preparing the walls. Without proper prep, even the best tiles won’t last. In this guide, you’ll learn how to prepare walls for tiling, with clear, simple steps you can follow whether you live in Islington, Camden, or Hackney. Read on to learn more.
Why Wall Preparation Matters
Tiling directly onto unprepared walls might look fine at first, but cracks, loose tiles, or mould can appear over time. Proper wall prep helps your tiles stick firmly and last longer. It also ensures a flat, smooth finish, especially important for small bathroom or shower areas common in London homes. Think of preparation as your foundation. The stronger it is, the better your finish will look.
Tools and Materials You’ll Need
Before getting started, gather these essentials:
- Scraper or wallpaper remover
- Sandpaper or sanding block
- Sponge and sugar soap
- Primer or sealer (depending on wall type)
- Filler or plaster for holes
- Spirit level
- Flexible tile adhesive and grout
Step-by-Step: How to Prepare Different Wall Types for Tiling
Every wall type needs a slightly different approach. Let’s go through them one by one.
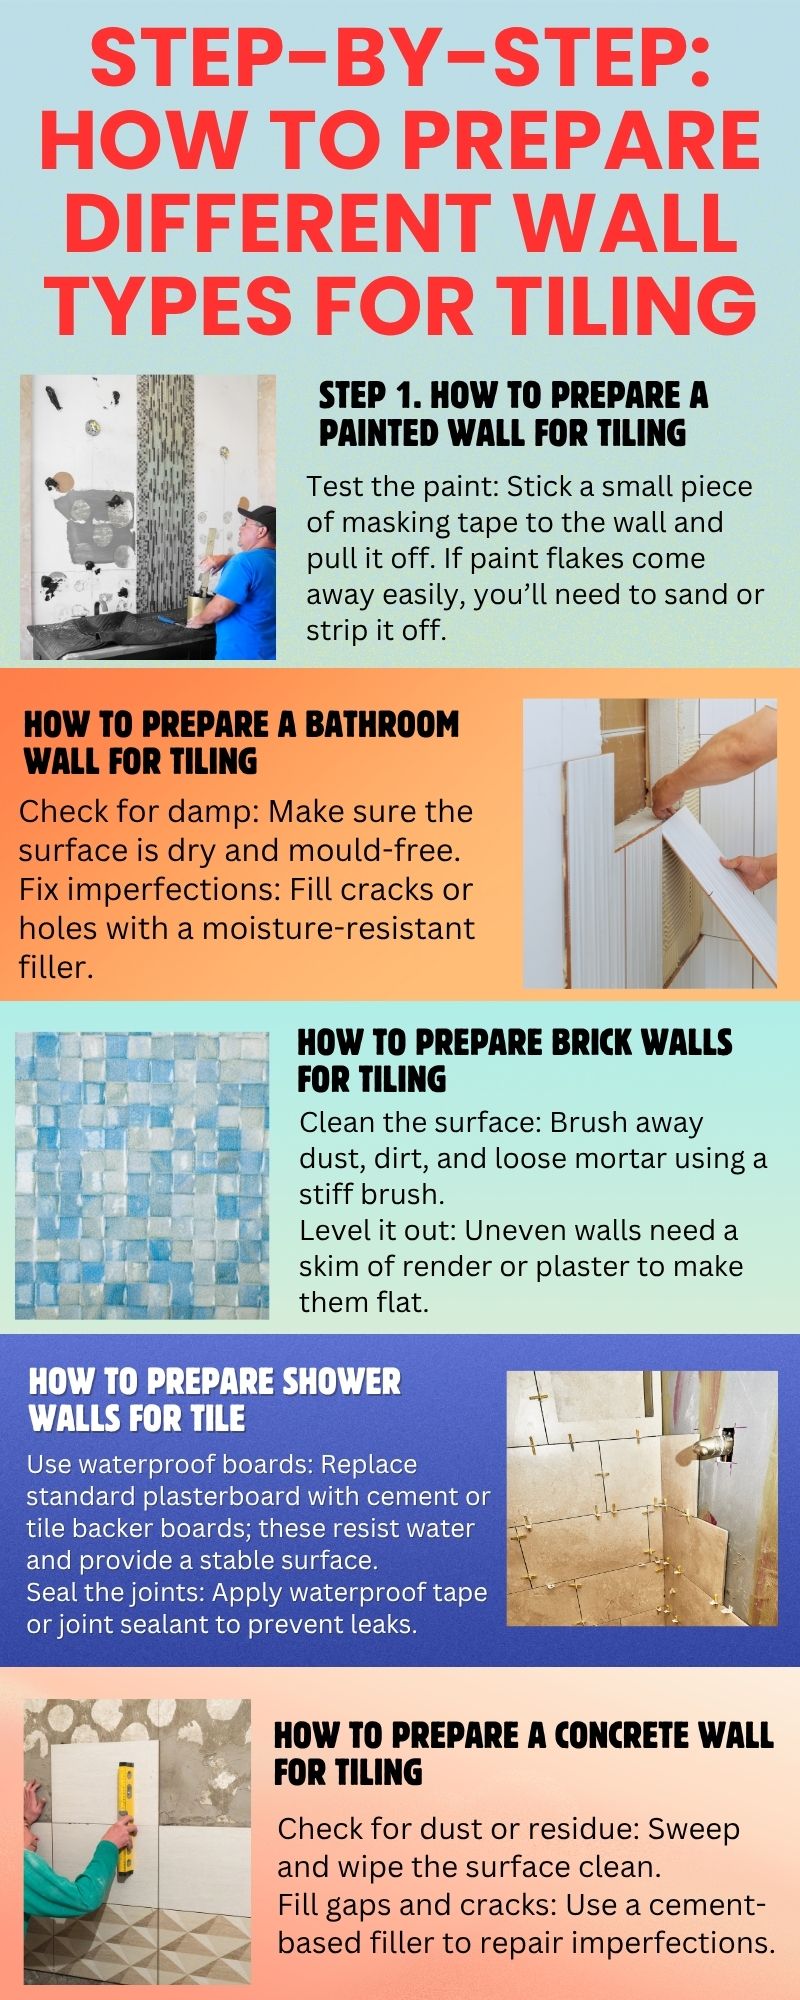
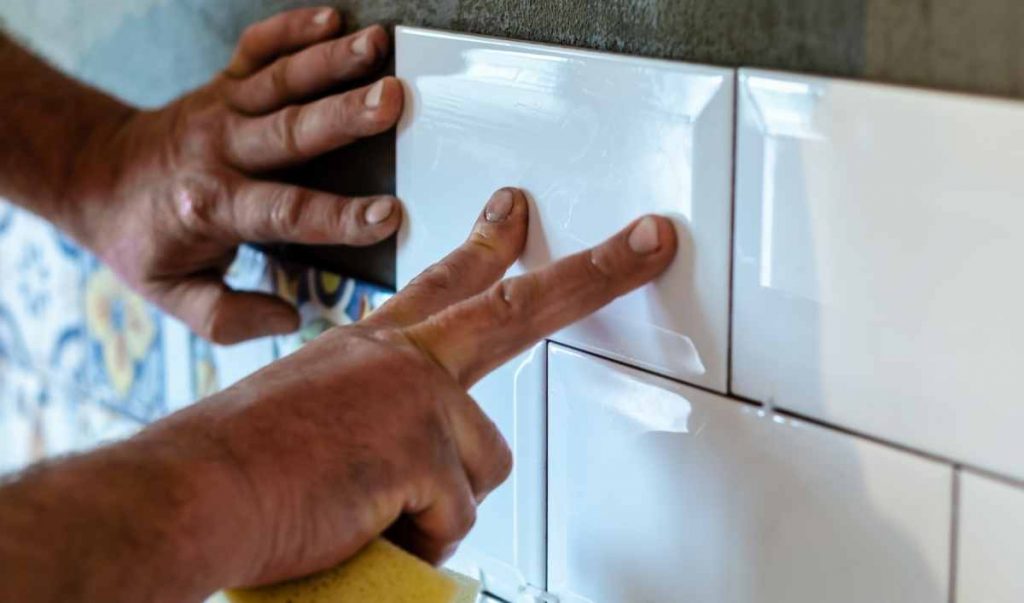
Step 1. How to Prepare a Painted Wall for Tiling
Got old painted walls in your bathroom? Here’s how to prepare a painted wall for tiling the right way:
- Test the paint: Stick a small piece of masking tape to the wall and pull it off. If paint flakes come away easily, you’ll need to sand or strip it off.
- Scrape and sand: Remove any loose paint with a scraper, then sand the surface until it feels slightly rough; this helps adhesive bond better.
- Clean the surface: Wash the wall with sugar soap to remove grease and dust.
- Prime it: Apply a suitable primer for tile adhesive, especially if the wall was previously glossy or oil-based.
If your wall is in good condition and the paint is well bonded, you can tile directly after priming.
2. How to Prepare a Bathroom Wall for Tiling
Bathrooms have constant moisture, so extra care is needed. Here’s how to prepare a bathroom wall for tiling properly:
- Check for damp: Make sure the surface is dry and mould-free.
- Fix imperfections: Fill cracks or holes with a moisture-resistant filler.
- Add backer boards: In areas that get direct water contact (like behind a shower), install cement backer boards or waterproof plasterboard.
- Seal and prime: Apply waterproof primer or tanking solution before you start tiling.
Pro tip: Always allow tanking or primer to dry completely before applying adhesive patience here prevents peeling tiles later!
3. How to Prepare Brick Walls for Tiling
For older homes in Islington or Camden, you may have exposed brick walls. Here’s how to prepare brick walls for tiling:
- Clean the surface: Brush away dust, dirt, and loose mortar using a stiff brush.
- Level it out: Uneven walls need a skim of render or plaster to make them flat.
- Prime before tiling: Once the plaster is dry, apply a suitable tile primer to control absorption.
If you’re tiling directly onto exposed brick, seal it with PVA or a tile-specific sealer so it doesn’t absorb all the moisture from your adhesive.
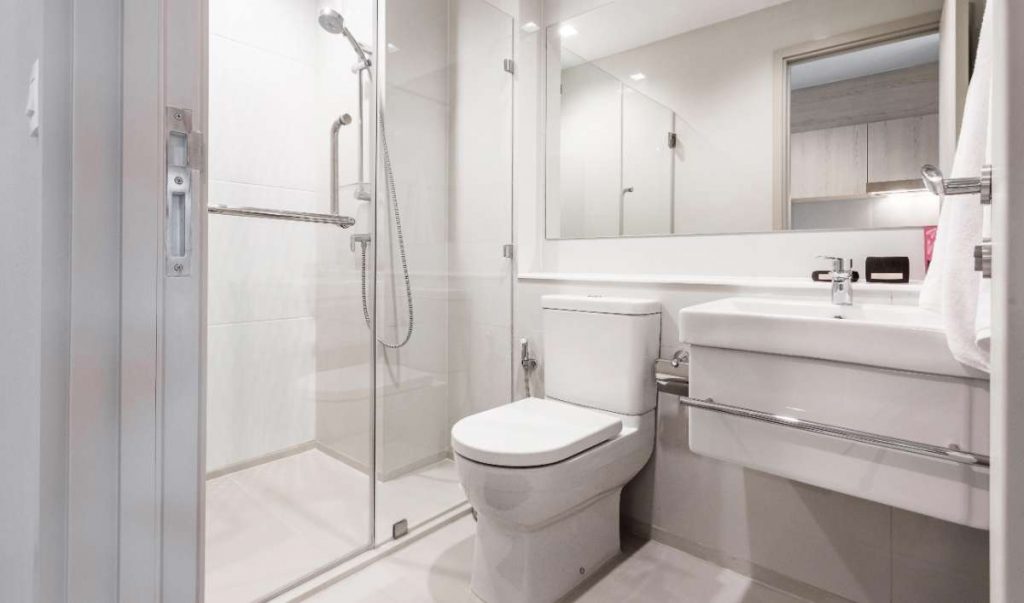
4. How to Prepare Shower Walls for Tile
This is one of the most critical areas to get right. Here’s how to prepare shower walls for tile step by step:
- Use waterproof boards: Replace standard plasterboard with cement or tile backer boards; these resist water and provide a stable surface.
- Seal the joints: Apply waterproof tape or joint sealant to prevent leaks.
- Apply tanking: Coat the entire shower area with a tanking membrane for full waterproofing.
- Prime lightly: Once dry, add a primer for extra adhesion.
In bathrooms across Hackney and Camden, where condensation is common, waterproofing is your best protection against damp and tile failure.
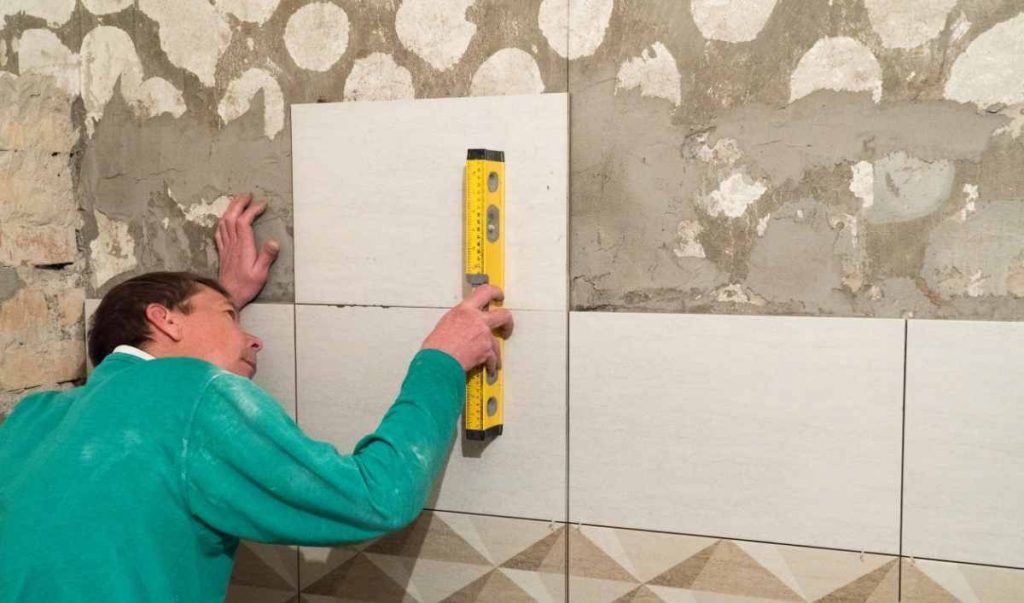
5. How to Prepare a Concrete Wall for Tiling
Concrete is a solid base, but it needs proper cleaning and sealing before tiling. Here’s how to prepare a concrete wall for tiling:
- Check for dust or residue: Sweep and wipe the surface clean.
- Fill gaps and cracks: Use a cement-based filler to repair imperfections.
- Smooth it out: Sand any rough patches for a uniform finish.
- Prime it: Apply a bonding primer to prevent moisture absorption.
Tip: Never tile over new concrete that hasn’t cured; wait at least 4 weeks for it to dry fully.
Avoid These Tiling Prep Mistakes
Even simple preparation can go wrong if you rush. Watch out for these mistakes:
- Tiling on wet or dirty walls.
- Skipping primer on absorbent surfaces.
- Ignoring loose plaster or paint.
- Forgetting to waterproof in bathrooms or showers.
- Not levelling uneven surfaces before tiling.
Preparation might feel slow, but it saves you from big repairs later!
Benefits of Proper Wall Preparation
Before tiling, understanding the payoff makes the effort worthwhile:
- Longer-lasting tiles: Adhesive bonds better on prepared surfaces.
- Smooth finish: Even walls mean neat, professional results.
- Prevents damp: Waterproofing stops leaks and mould.
- Stronger hold: Tiles stay secure even in high-moisture areas.
Whether it’s a shower wall in Hackney or a feature wall in Islington, good preparation makes the difference between a quick fix and a lasting transformation.
The AnimAnimus Difference
At AnimAnimus Construction, we know that perfect tiling starts long before the first tile is laid. Our experienced bathroom fitters and bathroom contractors take time to inspect, prepare, and seal every wall to perfection.
Here’s how our team delivers quality every time:
- Detailed surface checks: We identify issues before they cause problems.
- Expert material choice: From brick to concrete, we use the right prep for every wall type.
- Precision workmanship: Every tile sits flat, straight, and sealed for years to come.
So, whether you’re renovating your bathroom in Camden or giving your kitchen a makeover in Islington, we bring care and craftsmanship to every project.
FAQs
Question 1. Can I tile over old painted walls?
Answer: Yes, if the paint is in good condition. Sand, clean, and prime first to help tiles stick better.
Question 2. How long should I wait after priming before tiling?
Answer: Usually 2–4 hours, but always follow the primer manufacturer’s instructions.
Question 3. What’s the best way to waterproof shower walls?
Answer: Use cement boards and apply a tanking membrane or waterproof primer before tiling.
Question 4. Can I tile directly onto brick or concrete?
Answer: Yes, as long as the surface is clean, flat, and sealed.
Wrapping Up:
So, that’s how to prepare walls for tiling from cleaning and priming to waterproofing and levelling. A little preparation goes a long way, giving your tiles a strong grip and a flawless look.
If you’re planning a bathroom refurbishment or wall tiling project in Islington, Camden, or Hackney, leave it to the experts. Contact AnimAnimus Construction today for professional advice, perfect prep, and a finish that lasts for years.