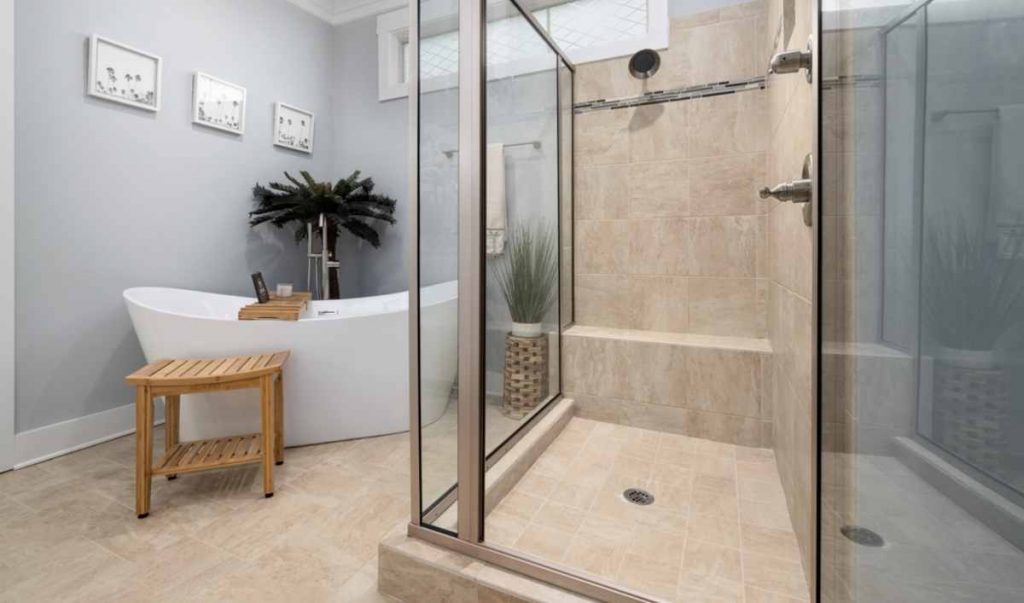
Have you ever dreamt of upgrading your bathroom but discovered your drainage just won’t line up? That’s where a raised shower comes in a clever fix that lets you fit a new shower tray without digging into the floor. It’s practical, space-saving, and perfect for homes across Islington, Camden, and Hackney, where floors often hide timber joists or shallow voids.
In this guide, you’ll learn how to install a raised shower from start to finish from planning the platform to connecting the plumbing. Read on to learn more.
Why Install a Raised Shower?
A raised shower is simply a shower tray lifted above floor level to create space for pipes, traps, and drainage beneath. It’s ideal when:
- The floor can’t be cut into for pipework.
- You’re working with timber floors that move slightly.
- You want easy access for maintenance later.
For many London homes, especially older Victorian and Edwardian properties, it’s the safest and cleanest way to achieve a modern, waterproof finish without compromising the structure underneath.
Planning Your Project
Before picking up a tool, spend a few minutes planning. Good preparation means fewer surprises later.
- Measure the space: Mark out the shower area and check where your waste pipe will run.
- Plan the fall: Waste pipes need a gentle slope (about 20 mm per metre) for smooth drainage.
- Check clearance: Make sure doors and nearby fittings will still open once the raised tray is installed.
- Choose materials: Opt for waterproof boards, flexible adhesive, and a high-quality trap.
Think ahead; small bathrooms in Hackney or Islington often have tight layouts, so accurate planning helps avoid awkward edges or cuts later on.
Step-by-Step: How to Build a Raised Shower Base
Here’s how to build a raised platform for a shower tray that’s sturdy, level, and long-lasting.
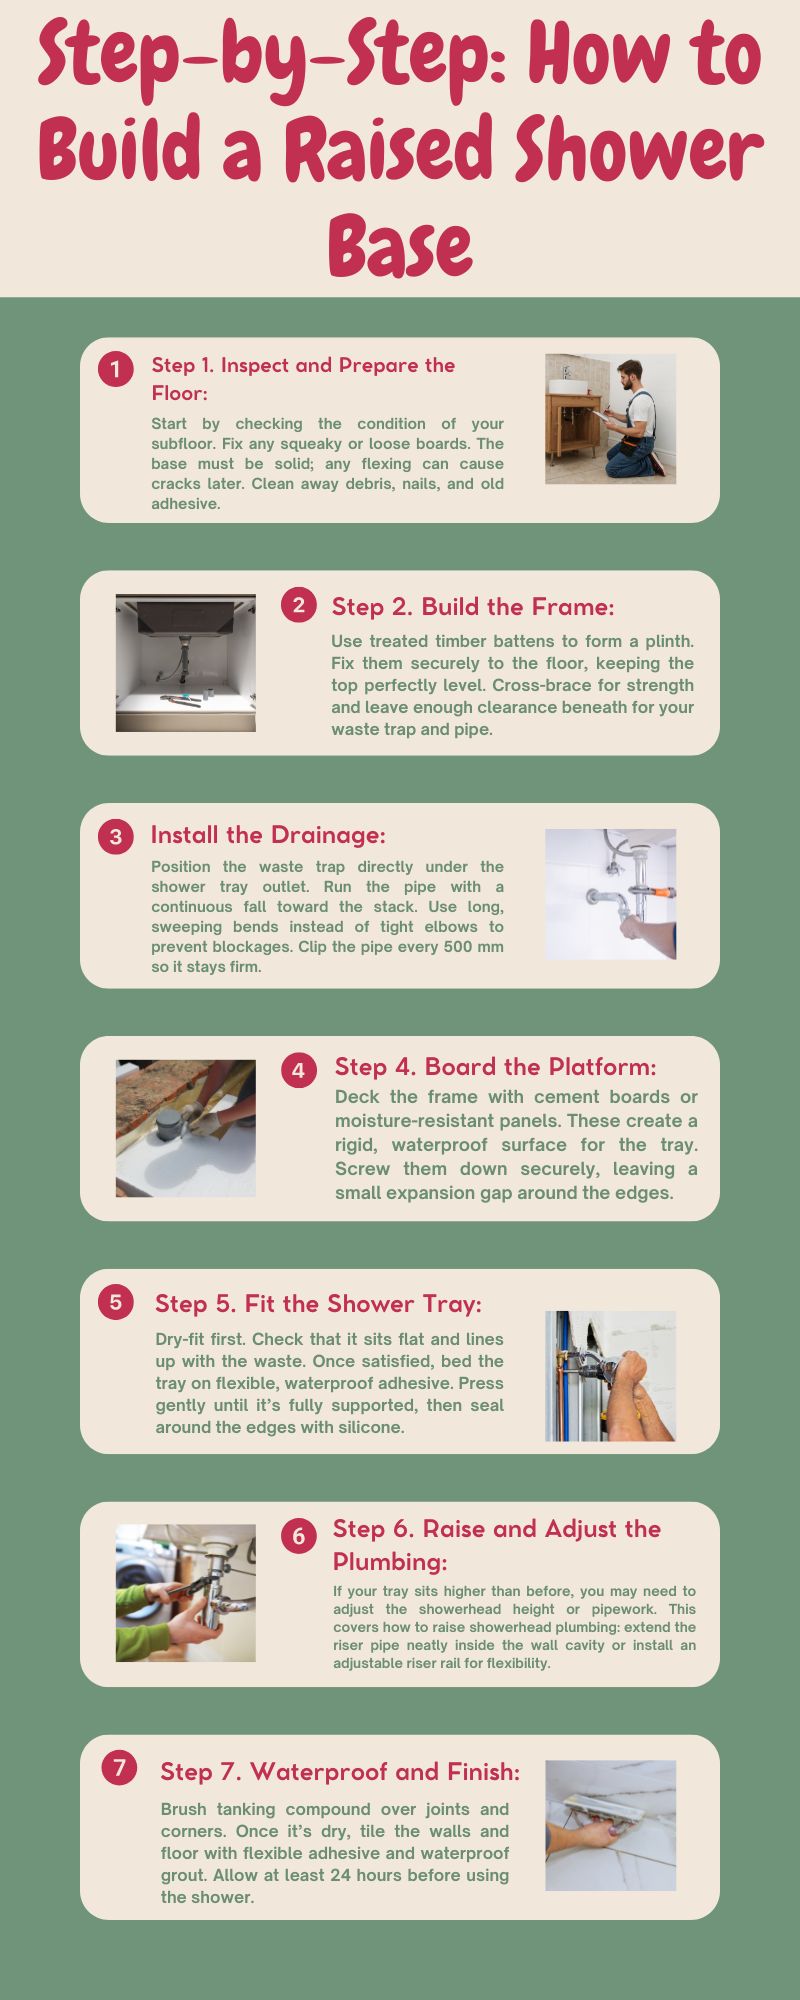
Step 1. Inspect and Prepare the Floor: Start by checking the condition of your subfloor. Fix any squeaky or loose boards. The base must be solid; any flexing can cause cracks later. Clean away debris, nails, and old adhesive.
Step 2. Build the Frame: Use treated timber battens to form a plinth. Fix them securely to the floor, keeping the top perfectly level. Cross-brace for strength and leave enough clearance beneath for your waste trap and pipe.
Pro tip: In older Camden terraces, floors often slope slightly. Use packers or shims to level your frame before boarding it.
Step 3. Install the Drainage: Now comes how to lay drainage pipes for the shower in bathroom floor.
Position the waste trap directly under the shower tray outlet. Run the pipe with a continuous fall toward the stack. Use long, sweeping bends instead of tight elbows to prevent blockages. Clip the pipe every 500 mm so it stays firm.
Step 4. Board the Platform: Deck the frame with cement boards or moisture-resistant panels. These create a rigid, waterproof surface for the tray. Screw them down securely, leaving a small expansion gap around the edges.
Step 5. Fit the Shower Tray: Dry-fit first. Check that it sits flat and lines up with the waste. Once satisfied, bed the tray on flexible, waterproof adhesive. Press gently until it’s fully supported, then seal around the edges with silicone.
Step 6. Raise and Adjust the Plumbing: If your tray sits higher than before, you may need to adjust the showerhead height or pipework. This covers how to raise showerhead plumbing: extend the riser pipe neatly inside the wall cavity or install an adjustable riser rail for flexibility.
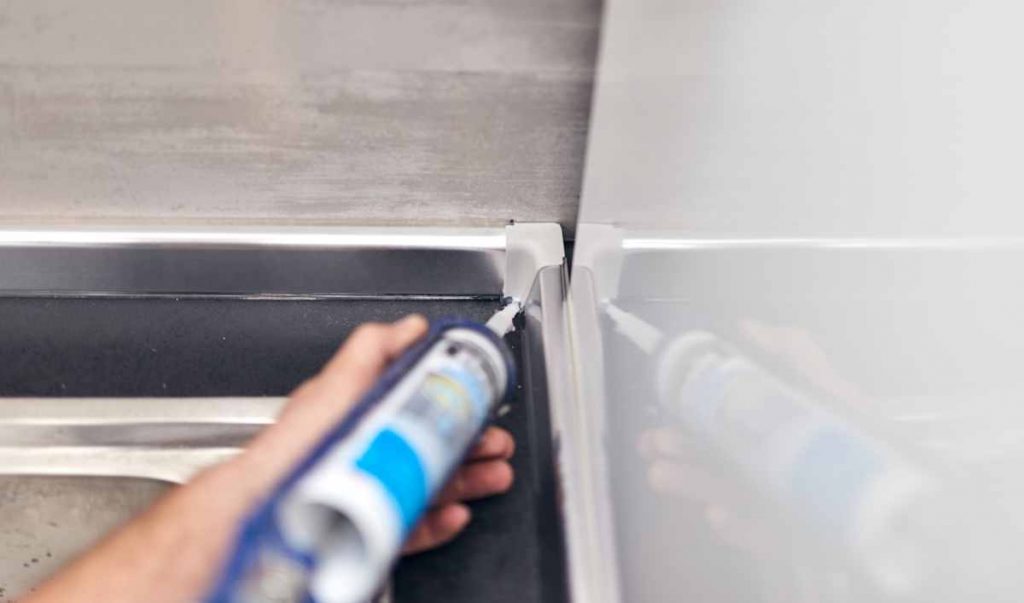
Step 7. Waterproof and Finish: Brush tanking compound over joints and corners. Once it’s dry, tile the walls and floor with flexible adhesive and waterproof grout. Allow at least 24 hours before using the shower.
Common Mistakes to Avoid
Even small oversights can cause problems later. Avoid these common errors:
- Skipping the tanking step: It’s essential for waterproofing.
- Using the wrong adhesive: Standard types can crack as timber moves.
- Forgetting pipe falls: Flat or uphill runs cause slow drainage.
- Rushing the drying time: Patience now prevents leaks later.
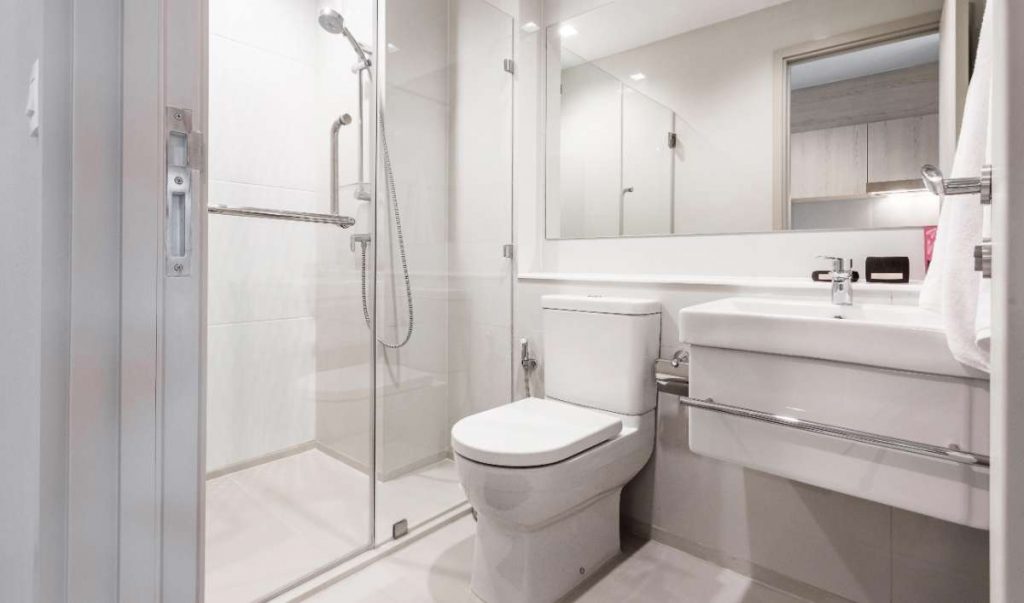
The Benefits of a Raised Shower
Before you grab your tools, it’s worth knowing what makes a raised shower such a smart choice for modern London homes.
- Easier installation: No need to cut into joists.
- Better drainage: Reliable flow with easy access to pipes.
- Cleaner design: Perfect for modern or compact bathrooms.
- Ideal for refurbishments: Works in both old and new builds across London.
For tight spaces in Islington flats or Camden conversions, a raised tray often makes the impossible possible.
The AnimAnimus Approach: Built to Last
At AnimAnimus Construction, we believe every detail matters, from the first screw in the frame to the final polish on the tiles. Our bathroom fitters and contractors don’t just install; they engineer solutions tailored to your home’s needs.
Here’s how we ensure quality every time:
- Tailored planning: We assess your flooring type and design a secure platform for your shower.
- Expert plumbing: Our team guarantees proper waste falls and watertight seals.
- Flawless finish: We combine craftsmanship with precision so every corner looks perfect.
That’s why homeowners across Islington, Hackney, and Camden trust AnimAnimus for their bathroom renovation, installation, and refurbishment projects.
FAQs
Question 1. Can I install a raised shower on a timber floor?
Answer: Yes; it’s the best method for timber floors since it keeps plumbing accessible and prevents tile cracking.
Question 2. How high should I build the platform?
Answer: Usually between 60 mm and 120 mm, depending on the waste trap depth and drainage fall.
Question 3. Do I need professional help?
Answer: If you’re unsure about plumbing or waterproofing, yes. Professionals ensure the job meets building standards and stays leak-free.
Question 4. How to build a walk in shower step by step?
Answer: Use a low-profile raised tray, waterproof the area thoroughly, and finish with glass panels for an open, seamless look.
Wrapping Up:
Installing a raised shower isn’t just about convenience; it’s about protecting your home from leaks while adding style and function. With the right prep, materials, and technique, you can achieve a durable, elegant bathroom upgrade that lasts. Thinking about a bathroom refurbishment in Islington, Camden, or Hackney? Contact AnimAnimus Construction today for expert advice, precise installation, and a finish that feels built to last.